The Rise of Printable Custom Stickers in 2025
If there’s one product that perfectly blends creativity, fun, and function, it’s the custom sticker. Over the past few years, printable stickers have exploded in popularity—showing up on water bottles, laptops, journals, phone cases, packaging, and even business branding. What used to be a niche hobby has now become a full-blown creative industry, with thousands of independent sellers launching their own sticker shops and earning consistent income.

Why Printable Stickers Are Booming
Stickers have always been a playful way to personalize everyday items, but in 2025 they’ve become much more than simple decorations. They’re now part of lifestyle trends, small business branding, and even eco-friendly packaging.
- Crafting & Journaling: Bullet journal enthusiasts and scrapbookers use themed sticker sheets to organize and decorate.
- Personal Tech: Laptops, tablets, and phone cases are covered in stickers that reflect personality and style.
- Home & Gifts: Custom stickers are used for labeling kitchen jars, wedding favors, or party bags.
- Business Branding: Small businesses use logo stickers and thank-you labels to elevate their packaging.
Because stickers are affordable to make, easy to customize, and lightweight to ship, they’ve become one of the fastest-growing categories in the personalization market.
The Explosion of Etsy Sticker Shops & Print-on-Demand

Platforms like Etsy have seen an incredible rise in sticker sellers. Many started with just a home printer, some sticker paper, and scissors—yet grew into six-figure businesses thanks to demand for planner stickers, aesthetic designs, and seasonal packs.
Meanwhile, print-on-demand (POD) services like Redbubble, Printify, and Sticker Mule have made it possible to design once and sell forever. These platforms handle the printing and shipping, allowing creators to focus purely on design.
This low barrier to entry means anyone with creativity (and the right clip art) can start a sticker side hustle today.
Why Personalization Appeals to Buyers
Stickers may be small, but their impact is huge. People love them because they’re:
- Fun & Expressive: A sticker instantly communicates personality, humor, or style.
- Affordable: Unlike expensive apparel, stickers are cheap to buy in bulk.
- Functional for Businesses: For small brands, custom logo or thank-you stickers make packaging look professional.
- Collectible: Many customers buy stickers in themed packs, seasonal sets, or for their hobbies.
This mix of emotional appeal and practical function makes stickers irresistible for both buyers and sellers.
What This Guide Will Cover
This ultimate 2025 guide will take you step by step through the world of printable custom stickers. You’ll learn:
- The tools and materials you need to start (beginner to professional setups).
- How to choose the right digital designs, file formats, and resolution.
- A step-by-step design tutorial for creating your own sticker sheets.
- Different printing methods (home printing, Cricut/Silhouette cutting, outsourcing).
- Creative sticker ideas for planners, branding, gifts, and seasonal sales.
- The common mistakes to avoid when designing and printing.
- How to turn sticker-making into a profitable business on Etsy, Shopify, or POD platforms.
- A real-world case study of someone who scaled their hobby into a full-time shop.
Along the way, we’ll also touch on the importance of licensing. If you’re planning to sell stickers made with clip art or digital assets, be sure to check our Refund & Licensing Policy so your shop stays compliant and protected.
Printable custom stickers are more than just decorations—they’re a booming trend, a creative outlet, and a serious small business opportunity. Whether you’re making them for personal use, gifts, or an online store, this guide will equip you with everything you need to succeed.
1. Why Printable Custom Stickers Are So Popular
Stickers may be small, but their impact is anything but. Over the past five years, printable custom stickers have gone from childhood collectibles to one of the hottest trends in the personalization and small business space. Whether decorating journals, packaging customer orders, or branding a laptop, stickers are now a global phenomenon—and their popularity continues to grow.
Self-Expression Through Stickers
In today’s world, people want their belongings to reflect their identity. Stickers are one of the simplest, most affordable ways to achieve this. Unlike clothing or accessories, which can be costly, stickers allow people to showcase their hobbies, favorite quotes, and artistic style for just a few pounds.
- Students personalize laptops and water bottles with aesthetic sticker packs.
- Gamers decorate consoles with retro or digital art designs.
- Travelers collect stickers as souvenirs from destinations.
Each sticker is a tiny statement piece, a way of saying “this is who I am” without saying a word.
The DIY Crafter’s Dream
Printable stickers are also massively popular in the DIY and crafting community.
- Bullet Journaling & Planning: Planner enthusiasts use sticker sheets to track tasks, decorate pages, and stay organized in a visually pleasing way.
- Scrapbooking: Custom stickers add layers, textures, and personal touches to memory books.
- Card Making & Gifting: A few custom stickers instantly elevate handmade cards or gift packaging.
For crafters, stickers are addictive—they’re easy to design, fun to use, and endlessly versatile.
Affordable Yet High Value
Part of the appeal lies in how budget-friendly stickers are to both produce and purchase.
- For buyers: A set of 10–20 stickers might cost just £3–£5, making them an affordable impulse buy.
- For sellers: Sticker paper and ink are inexpensive, yet the markup is high. A single sheet that costs 50p to make can sell for £4–£6.
This combination of affordability and high perceived value is why stickers are thriving on platforms like Etsy.
Branding & Business Uses
Stickers aren’t just for fun—they’re also a powerful branding tool.
- Logo Stickers: Small businesses add them to packaging to increase professionalism.
- Thank-You Stickers: Shops include them in customer orders as a thoughtful touch.
- Event Stickers: Companies hand them out at trade shows or community events.
For entrepreneurs, stickers are essentially low-cost marketing with a high return. A customer may throw away a receipt, but they’ll happily keep and display a free sticker.
Collectible & Seasonal Appeal
Stickers also thrive on collectibility. Customers rarely buy just one—they want sets, packs, or seasonal bundles.
- Seasonal packs: Christmas, Halloween, Valentine’s Day.
- Hobby packs: pets, gardening, fitness, gaming.
- Aesthetic packs: retro, pastel, or watercolor themes.
This encourages repeat purchases and customer loyalty—ideal for building a sustainable business.
Mini Case Story: From Hobby to Side Income
Take Mia, a university student in Bristol. She started designing planner stickers for her personal bullet journal, using clip art and Canva. Friends noticed and asked for copies, so she listed a few sets on Etsy.
- First month: 12 sales, earning around £40.
- Month three: Over 200 sales of themed planner sticker sheets.
- By the end of year one: Mia was making £1,000/month consistently.
All from a hobby she enjoyed anyway. Mia’s story isn’t unique—it’s happening worldwide, as thousands of creators turn stickers into small businesses.
Stickers are popular because they’re personal, versatile, affordable, and profitable. They let people express themselves, help businesses look professional, and give crafters a simple product to create and sell. With low startup costs and high demand, it’s no wonder printable stickers have become one of the top personalized products of 2025.
2. Tools and Materials You’ll Need
One of the reasons printable stickers are so popular is that the barrier to entry is low. You don’t need a factory or thousands of pounds of equipment to get started. With just a printer, some sticker paper, and scissors, you can make your first set of custom stickers at home. From there, you can scale up to professional tools like Cricut machines and high-quality printers as your skills and sales grow.
Here’s a breakdown of everything you’ll need—whether you’re a beginner making stickers for personal use or an entrepreneur aiming to build a profitable shop.
Beginner vs. Advanced Setup
Beginner Setup (~£50–£150):
- Inkjet or laser printer (home office style).
- Packs of printable sticker paper (matte or glossy).
- Basic scissors or a craft knife for cutting.
- Free design software like Canva or GIMP.
👉 Perfect for testing ideas, making personal projects, or creating gifts.
Advanced Setup (~£300–£1,000+):
- High-resolution inkjet or laser printer optimized for stickers.
- Cutting machine (Cricut Maker or Silhouette Cameo).
- Laminator (for waterproof and long-lasting stickers).
- Bulk orders of vinyl sticker paper (matte, glossy, clear, or holographic).
- Professional design software like Photoshop, Illustrator, or Procreate.
👉 Best for Etsy sellers, Shopify shops, or businesses scaling production.
Printers: Inkjet vs. Laser
Your printer is at the heart of sticker-making, so choosing the right one is crucial.
- Inkjet Printers
- Pros: Affordable, produces vibrant colors, great for detailed clip art.
- Cons: Ink can smudge if paper isn’t coated properly.
- Best for: Home crafters and small runs.
- Laser Printers
- Pros: Crisp text and sharp designs, waterproof toner, faster for bulk printing.
- Cons: Higher upfront cost, not as vibrant for photos.
- Best for: Sellers focusing on logos, labels, and text-heavy designs.
Cutting Tools
Cutting is what transforms a sheet of paper into usable stickers.
- Scissors / Craft Knife: Works fine for hobbyists or simple square/rectangle stickers.
- Cricut or Silhouette Machine: For professional sellers, these cutting machines are game-changers. They allow you to create kiss cuts (stickers peel off easily) and custom shapes with precision.
👉 If you’re planning to sell stickers seriously, investing in a cutting machine will save you time and elevate your quality.
Sticker Paper Types
Not all sticker paper is created equal. Choosing the right material depends on the look, feel, and durability you want.
- Matte Sticker Paper: Smooth, writable surface. Great for planner stickers.
- Glossy Sticker Paper: Shiny, vibrant finish. Looks professional and eye-catching.
- Clear Sticker Paper: Transparent background, perfect for minimalist designs or product labels.
- Vinyl Sticker Paper: Durable, waterproof, and ideal for outdoor use (like car decals or water bottles).
- Holographic / Specialty Papers: Adds a unique shine or effect. Popular for aesthetic and collectible packs.
Laminators & Protection
For stickers that need to withstand water, sunlight, or heavy use, laminating is essential.
- Cold Lamination Sheets: Peel-and-stick protective film.
- Hot Laminators: Professional finish, excellent for waterproofing vinyl stickers.
This extra step ensures your stickers last longer and justifies higher selling prices.
Design Software Options
The right software makes designing stickers faster and easier.
- Canva (Free/Paid): Great for beginners—drag-and-drop templates, easy to use.
- Procreate (iPad): Perfect for hand-drawn sticker designs.
- Photoshop / Illustrator: Industry standard for professional-quality vector and raster designs.
- Silhouette Studio / Cricut Design Space: Used for creating cut lines and aligning sticker sheets.
👉 Choose based on your style—simple typography packs can be done in Canva, while detailed illustration sets shine in Procreate or Illustrator.
Workspace Setup & Safety
Even though sticker-making is relatively safe, a good workspace boosts efficiency:
- Flat surface: Essential for cutting and pressing laminated sheets.
- Good lighting: Helps with cutting accuracy.
- Organized storage: Keep papers, blanks, and designs in labeled bins.
- Ventilation: Important if using laminators or spray sealants

Cost Comparison: Beginner vs. Pro Setup
| Item | Beginner Setup | Advanced Setup |
|---|---|---|
| Printer | £50–£100 | £250–£500 (pro inkjet/laser) |
| Cutting Tools | Scissors (£5) | Cricut/Silhouette (£250–£350) |
| Sticker Paper | £20 (starter packs) | £100–£200 (bulk vinyl, glossy, holographic) |
| Laminator | Optional (£10–£20) | £100–£200 |
| Software | Canva Free | Photoshop/Illustrator (£20/mo) |
Total Investment:
- Beginner: ~£50–£150
- Advanced: ~£300–£1,000+
Getting started with stickers is easy and affordable. A beginner can test designs with nothing more than a home printer and sticker paper, while advanced creators can scale up with professional printers, cutters, and laminators. The setup you choose depends on your goals—but even the simplest tools can produce high-quality stickers when combined with great design.
3. Choosing the Right Digital Designs
The heart of every sticker lies in its design. Even with the best printer, paper, and cutting machine, a sticker will only be as good as the artwork you use. That’s why choosing the right digital designs is crucial—both for quality and for making sure you’re legally allowed to sell what you create.
File Formats: What Works Best for Stickers
Different file types are suited to different sticker-making methods. Here’s a breakdown:
- PNG (Portable Network Graphics):
- Supports transparent backgrounds.
- Keeps crisp details and colors.
- Ideal for stickers where the shape isn’t a square/rectangle (e.g., cut-out pets or flowers).
👉 Best overall choice for stickers.
- SVG (Scalable Vector Graphics):
- Vector-based, meaning it can be scaled infinitely without losing quality.
- Perfect for creating cut lines with Cricut or Silhouette machines.
- Ensures razor-sharp edges.
👉 Essential if you’re making die-cut stickers.
- JPG (Joint Photographic Group):
- Common, but doesn’t support transparency.
- Can compress and lose quality.
👉 Use only for background-based designs or photo stickers.
- EPS/AI (Professional Vector Files):
- Editable in Illustrator.
- Great for business logos or professional branding stickers.
Resolution: Why 300 DPI Is Non-Negotiable
Resolution makes or breaks sticker quality. Many beginners mistakenly use low-resolution images (like 72 DPI web graphics), which print blurry and unprofessional.
- DPI (Dots Per Inch): Always design at 300 DPI for crisp, clear stickers.
- Canvas Size:
- A standard sticker sheet is A4 (8.3 × 11.7 inches).
- At 300 DPI, that’s 2,500 × 3,500 pixels.
- Bleed Area: Add 1/8″ around designs so cut machines don’t leave white edges.
👉 Pro Tip: Start with the largest possible canvas—you can always scale down, but scaling up ruins quality.
Transparent vs. Background Designs
- Transparent PNGs: Perfect for irregular shapes (e.g., flowers, animals, quotes).
- Background Designs: Work well for sticker sheets (e.g., pastel backgrounds for journaling stickers).
- White Borders: Adding a small white outline around the design makes stickers “pop” on any background and helps Cricut/Silhouette cut cleanly.
Licensing: Personal vs. Commercial Use
This is an area where many new sellers run into trouble. Just because you find an image online doesn’t mean you’re allowed to print and sell it as a sticker.
- Personal License: You can print designs for your own use (journals, scrapbooks, gifts).
- Commercial License: Required if you plan to sell stickers featuring that design.
👉 Always review the Refund & Licensing Policy before using clip art for commercial purposes. At TumblersGalaxy, our clip art bundles include clear licensing, so you can confidently use them for products you intend to sell.
Design Styles That Sell Well
When it comes to stickers, some design categories consistently outperform others.
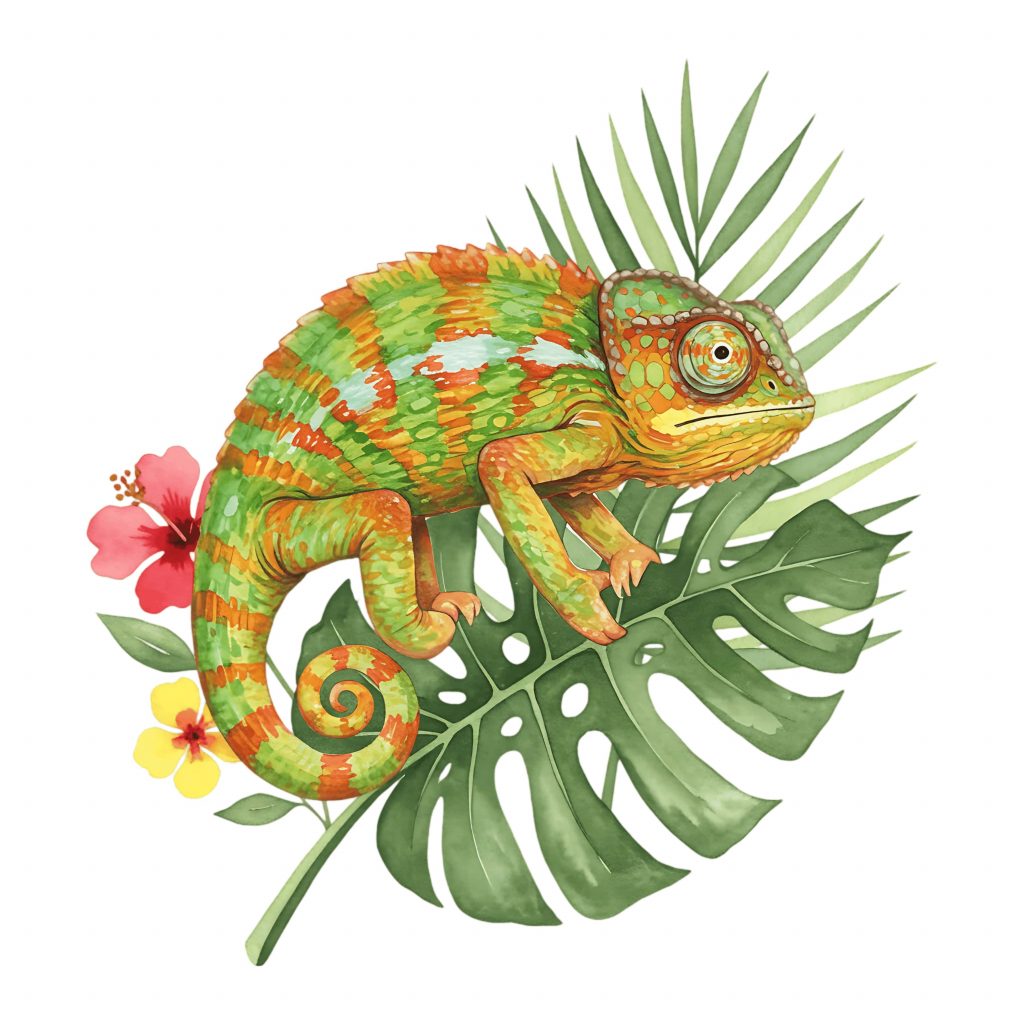
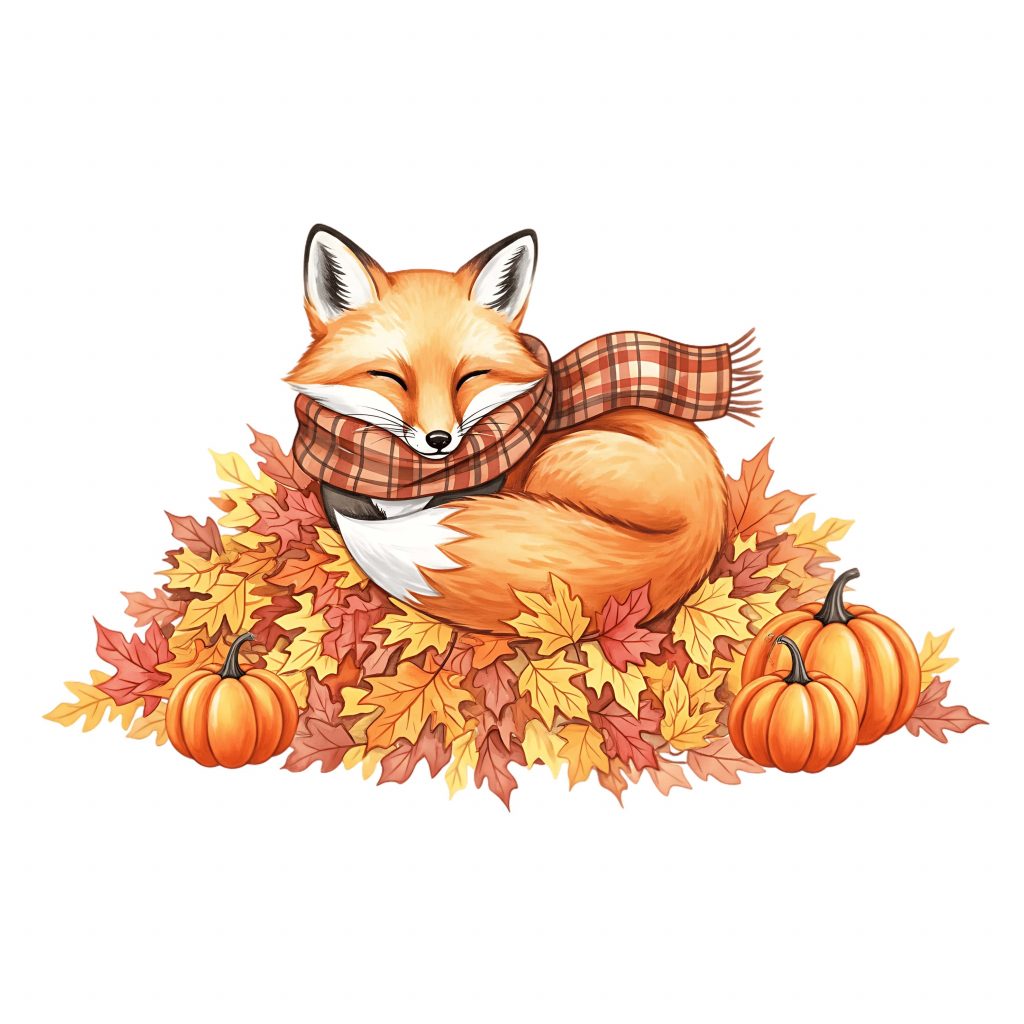
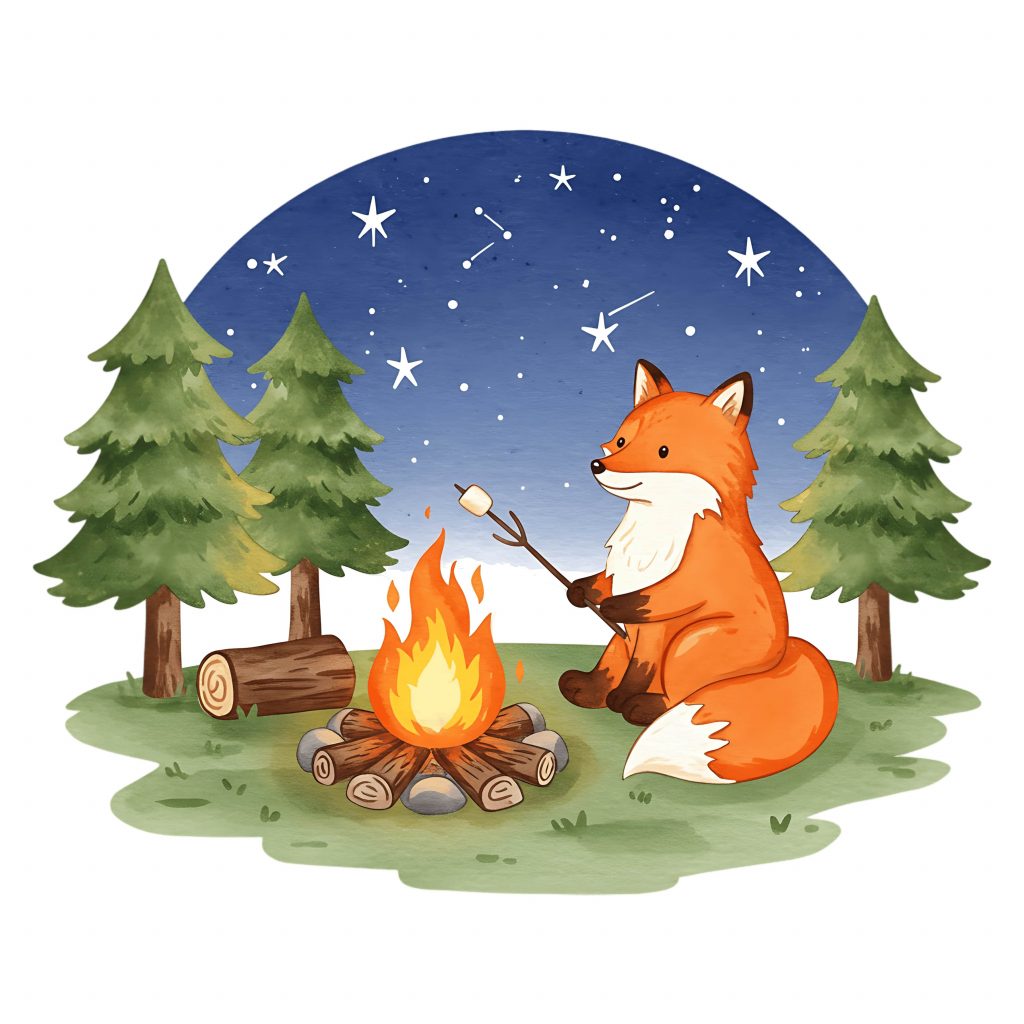
- Floral Packs: Watercolor flowers, plants, and seasonal leaves.
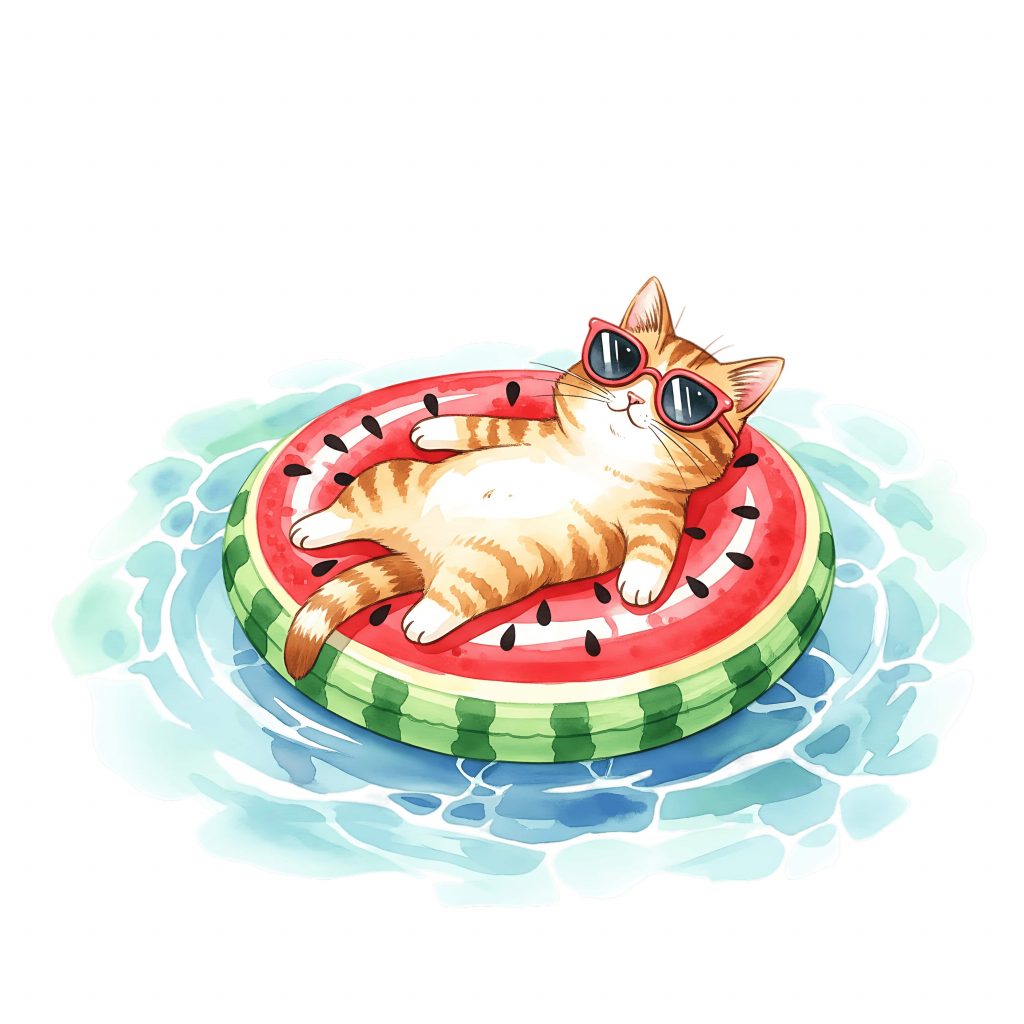
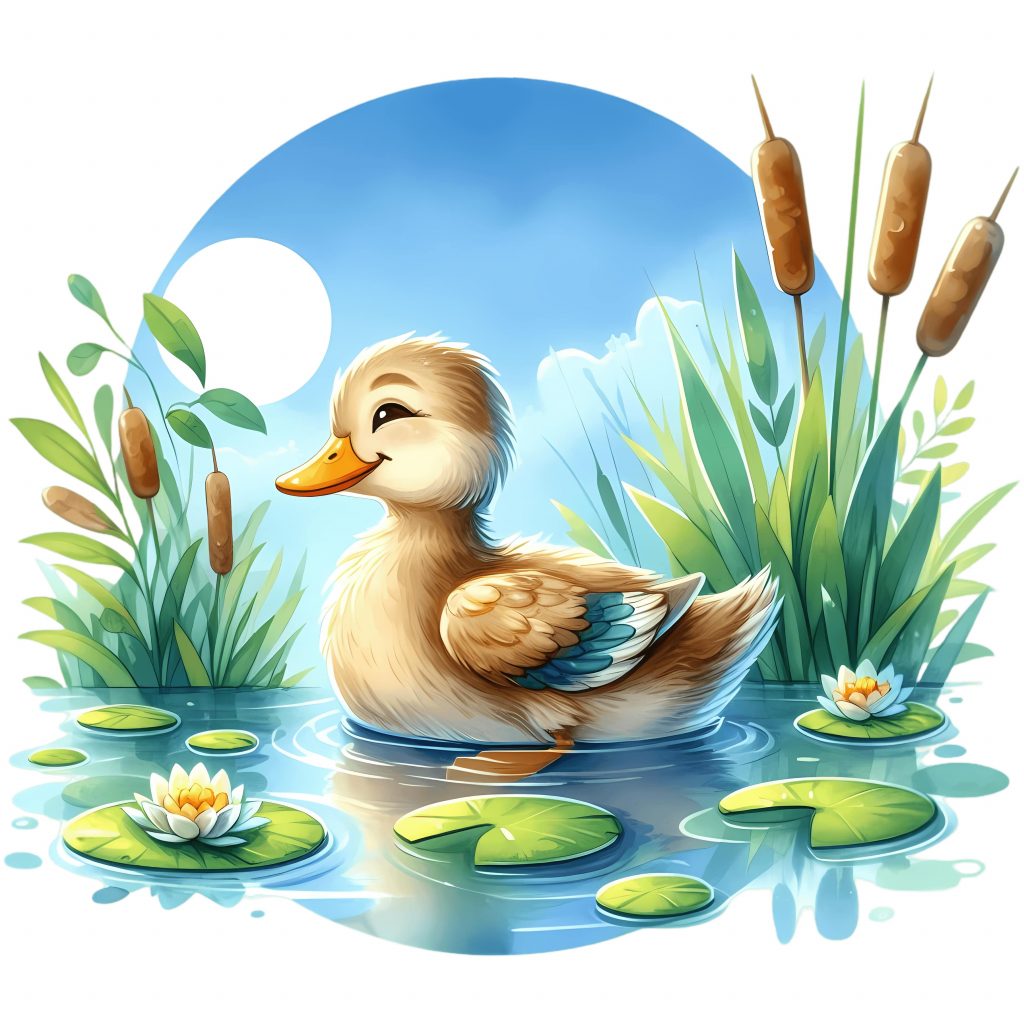
- Pets & Animals: Cats, dogs, birds, and cute critters are always in demand.
- Quotes & Typography: Motivational quotes, funny sayings, and aesthetic fonts.
- Seasonal Stickers: Christmas, Halloween, Valentine’s, and summer packs.
- Aesthetic Themes: Retro vibes, pastel colors, kawaii characters.
- Functional Stickers: Planner icons (checklists, calendars, reminders).
👉 The key is to focus on audience needs. A teacher might want functional planner stickers, while a teen might prefer kawaii designs for laptops.
Tips for Choosing Winning Designs
- Know Your Audience: Stickers for scrapbookers will differ from stickers for small business branding.
- Keep It Bold: Stickers are small, so bold lines and simple shapes work best.
- Test Variations: A single clip art (like a flower) can be used in different colors or paired with quotes.
- Think Collections: Packs of 10–20 stickers sell better than singles.
Mini Example: From Clip Art to Sticker Sheet
Let’s say you use TumblersGalaxy’s watercolor floral clip art pack:
- Import 8–10 flowers into Canva.
- Arrange them into a sheet (A4 size).
- Add white outlines around each.
- Export as PNG at 300 DPI.
- Print and cut using Cricut.
In under an hour, you’ve made a professional sticker sheet that can sell for £4–£6.
Choosing the right digital designs ensures your stickers look professional, sell well, and meet licensing standards. Stick with high-resolution PNGs or SVGs, design at 300 DPI, and focus on in-demand themes like florals, pets, and seasonal packs. And most importantly, always make sure your clip art has the right license if you’re selling.
4. Step-by-Step: Designing Your Stickers
Designing stickers may seem intimidating at first, but with the right workflow it’s surprisingly easy—and a lot of fun. Whether you’re creating planner stickers, laptop decals, or branding labels, the design process follows a series of simple steps. In this section, we’ll walk through exactly how to go from a blank digital canvas to a print-ready sticker sheet.
Step 1: Set Up Your Canvas
Before adding designs, set your canvas size to match your sticker paper.
- Standard Size: A4 (210 × 297 mm) or U.S. Letter (8.5″ × 11″).
- Resolution: Always 300 DPI for crisp results.
- Safe Margin & Bleed: Add a 0.125″ bleed around the edges to prevent white gaps when cutting.
👉 Example: An A4 canvas at 300 DPI = 2,480 × 3,508 pixels.
Step 2: Import Your Artwork
Next, bring in your clip art, illustrations, or typography.
- Use PNG files with transparent backgrounds for clean shapes.
- Keep designs bold and simple—small details may get lost when printed at sticker size.
- For collections, choose a consistent theme (e.g., “Summer Florals” or “Kawaii Food Icons”).
👉 If you’re using TumblersGalaxy clip art, import multiple elements from a single pack to build a cohesive sticker sheet.
Step 3: Add Borders and Cut Lines
One of the secrets to professional stickers is adding borders. These make designs stand out and help cutting machines track edges.
- White Borders: Add a 2–3mm outline around each design.
- Cut Lines: For Cricut/Silhouette, create a separate SVG file or use the software to define cut paths.
- Kiss Cut vs. Die Cut:
- Kiss cut: Sticker peels off but sheet remains intact (common for sticker sheets).
- Die cut: Sticker is cut all the way through into individual pieces.
Step 4: Arrange Into a Sheet
Now place your designs into a sheet layout.
- Planner stickers: Align icons and shapes in neat rows for easy use.
- Decorative packs: Scatter images naturally for a fun look.
- Branding stickers: Arrange multiple logo sizes for different uses.
👉 Don’t overcrowd—leave breathing space between stickers to avoid cutting errors.
Step 5: Add Text or Functional Elements (Optional)
Not all stickers are purely decorative. Adding words or functional elements increases usability:
- Quotes: Motivational sayings, funny slogans, seasonal greetings.
- Icons: Checklists, calendars, arrows for planners.
- Labels: “Thank You,” “Handmade with Love,” or custom names.
Pair text with clip art for a more polished look.
Step 6: Preview with Mockups
Before you print, preview how your stickers will look in real life.
- Use Canva, Photoshop, or Placeit mockups.
- Test against different backgrounds (white, kraft paper, colored notebooks).
- This helps spot mistakes (e.g., borders too thin, text too small).
👉 Mockups are also perfect for product listings on Etsy or Shopify.
Step 7: Export Your Design
Once you’re satisfied, export the sheet in the correct format.
- For Printing Only: High-resolution PNG or PDF at 300 DPI.
- For Print-and-Cut: PNG for printing + SVG (or outline file) for cut lines.
- Background: Transparent or white, depending on sticker style.
👉 Remember: If using Cricut/Silhouette, don’t forget to mirror your cut lines and test alignment before bulk printing.
Practical Example: Floral Sticker Sheet
Let’s say you want to make a set of spring floral stickers:
- Open an A4 canvas at 300 DPI in Canva or Photoshop.
- Import 8–10 watercolor flower PNGs from TumblersGalaxy.
- Add 2mm white borders around each flower.
- Arrange them in two neat rows with even spacing.
- Add a small “Spring Collection 2025” label at the bottom.
- Export as PNG (for printing) + SVG (for Cricut cut lines).
- Print, cut, and enjoy your first professional sticker sheet.
Sticker design is all about preparation and structure. By setting up your canvas properly, adding clear borders, arranging thoughtfully, and exporting in the right formats, you’ll ensure your stickers look polished and cut cleanly. With just a bit of practice, you’ll go from hobbyist doodles to professional sticker sheets ready for personal use—or your first Etsy sale.
5. Printing Methods for Stickers
Once your sticker sheet design is ready, it’s time to bring it to life. The good news is there are several different ways to print stickers, depending on your budget, goals, and equipment. Whether you’re crafting for personal use or preparing for hundreds of Etsy orders, the right method will make a big difference in both quality and efficiency.

1. Home Printing with Sticker Paper
This is the simplest and most affordable option for beginners.
How it works:
- Print your design on inkjet or laser-compatible sticker paper.
- Cut by hand (scissors/craft knife) or use a cutting machine like Cricut/Silhouette.
Pros:
- Low-cost entry point.
- Perfect for hobbyists, gifts, or testing designs.
- Lots of sticker paper options (matte, glossy, clear).
Cons:
- Limited print durability (may not be waterproof).
- Color quality varies depending on printer and paper.
👉 Pro Tip: Always check your printer type before buying sticker paper—inkjet paper won’t work well in a laser printer, and vice versa.
2. Cricut & Silhouette Print-and-Cut
For creators planning to sell stickers, Cricut Maker, Cricut Explore, or Silhouette Cameo machines are a must-have.
How it works:
- Print your designs onto sticker paper using an inkjet or laser printer.
- Load the sheet into Cricut/Silhouette.
- The machine uses registration marks to cut around each sticker shape with precision.
Pros:
- Creates professional-looking die-cut or kiss-cut stickers.
- Can cut intricate shapes (flowers, characters, logos).
- Scalable for small Etsy shops.
Cons:
- Initial investment (£250–£350).
- Cutting can be slow for large volumes.
👉 Pro Tip: Add a small white border around your designs for cleaner cuts and stronger visual impact.
3. Professional Print Shops & POD Services
If you’re scaling up or prefer outsourcing, professional print services or print-on-demand (POD) platforms are excellent options.

- Local Print Shops: Provide high-quality vinyl, laminated, and waterproof stickers. Great for bulk orders.
- Online POD Platforms (Redbubble, Printify, Sticker Mule): Upload your designs, and they handle printing, cutting, and shipping.
Pros:
- No need to invest in expensive equipment.
- High-quality, durable stickers (often laminated or UV-resistant).
- POD = passive income—you focus on design, not production.
Cons:
- Lower profit margins (POD takes a cut).
- Less control over shipping and packaging.
👉 Best choice if you want to focus on design rather than production logistics.
4. Waterproofing and Durability Upgrades
Many customers expect stickers that last—especially on laptops, water bottles, or cars. To make your stickers durable:
- Use Vinyl Paper: Naturally waterproof and tear-resistant.
- Laminate Stickers: Add a clear protective film (cold or hot lamination).
- Spray Sealant: Acrylic sprays provide extra UV and water resistance.
👉 Pro Tip: Offering both “standard” and “waterproof” sticker options lets you sell at different price points.
5. Cost and Time Comparison
| Method | Cost Per Sheet | Best For | Time Investment |
|---|---|---|---|
| Home Printing | £0.50–£1 | Hobbyists, beginners | Low–Medium |
| Cricut/Silhouette Cutting | £1–£2 | Etsy shops, small businesses | Medium |
| Local Print Shops | £1–£3 | Bulk orders | Low |
| Print-on-Demand (POD) | £0 upfront | Designers scaling online | Very Low |
Which Method Should You Choose?
- Beginners: Start with home printing + scissors or Cricut. Low investment, good learning curve.
- Intermediate sellers: Cricut/Silhouette for Etsy shops or small businesses.
- Scaling up: POD services or local printers for bulk orders, freeing you to design more.
There’s no single “best” printing method—it depends on your goals. Home printing is affordable, cutting machines give you a professional edge, and POD platforms let you scale without stress. For many creators, the sweet spot is starting with Cricut/Silhouette and later outsourcing bulk orders once sales grow.

6. Creative Ideas for Custom Stickers
One of the best parts of sticker-making is the sheer range of creative possibilities. Stickers aren’t just decorations—they’re tools for organization, branding, and personal expression. With the right themes and styles, you can create products that appeal to diverse audiences, from students and crafters to entrepreneurs and event planners. Let’s explore some of the most popular and profitable sticker ideas you can design today.
1. Planner & Journaling Stickers
The planner community is one of the biggest markets for stickers. People who bullet journal or use planners love customizing their pages with functional and decorative stickers.
- Functional Icons: Checkboxes, arrows, date headers, and calendar stickers.
- Mood Trackers: Weather icons, smiley faces, or habit-tracking symbols.
- Decorative Elements: Floral dividers, borders, or small motivational quotes.
👉 TumblersGalaxy’s floral clip art and seasonal packs are perfect for journaling stickers.

2. Seasonal & Holiday Stickers
Seasonal products consistently perform well because customers return year after year for new collections.
- Christmas: Santa hats, reindeer, snowflakes, and “Merry Christmas” quotes.
- Halloween: Pumpkins, ghosts, witches, and glow-in-the-dark designs.
- Valentine’s Day: Hearts, roses, romantic quotes, couple-themed stickers.
- Summer: Tropical patterns, suns, ice cream cones, and beach motifs.
👉 Selling holiday packs can boost sales significantly, especially in the months leading up to the event.
3. Branding & Business Stickers
Stickers aren’t just fun—they’re a powerful tool for small businesses.
- Logo Stickers: Add professionalism to packaging.
- Thank-You Stickers: “Thank You for Supporting My Small Business” is a bestseller on Etsy.
- Custom Labels: Perfect for candles, jars, handmade crafts, or bakery goods.
For entrepreneurs, stickers act as low-cost marketing with a lasting impact.
4. Niche Hobby Stickers
Targeting niche communities is a proven way to stand out.
- Pet Lovers: Dog and cat illustrations, “Proud Dog Mom,” or paw prints.
- Gamers: Console icons, pixel art, and funny gaming quotes.
- Teachers & Students: Educational icons, grading stickers, motivational phrases.
- Fitness Enthusiasts: Workout trackers, gym quotes, meal-prep labels.
👉 Niches have passionate audiences who are willing to buy multiple packs.
5. Aesthetic & Collectible Packs
Many customers buy stickers simply because they’re beautiful and collectible.
- Watercolor Aesthetics: Abstract washes, florals, and pastel tones.
- Retro & Vintage: 90s icons, neon designs, old-school logos.
- Kawaii Characters: Cute food items, animals, or cartoonish doodles.
- Holographic Stickers: Same designs printed on holographic vinyl for a unique, eye-catching effect.
👉 Collectible packs encourage repeat buyers—people want to complete sets.
6. Custom Photo + Clip Art Stickers
Mixing photos with clip art creates highly personalized products.
- Pet Portrait Stickers: Customer photo + watercolor background.
- Couple Stickers: Romantic photo with floral or seasonal overlays.
- Business Branding: Logo stickers combined with graphic frames.
These custom options often sell for higher prices because they’re one-of-a-kind.
7. Bundles & Collections

Bundles are a clever way to increase sales and cart value.
- Seasonal Bundles: Valentine’s + Easter + Summer in one pack.
- Themed Collections: A “Floral Collection” with three sheets (roses, tulips, mixed bouquets).
- Cross-Product Bundles: Sell stickers alongside matching mugs, T-shirts, or tote bags.
👉 Customers love variety, and bundles give them more for their money while boosting your profit margin.
Mini Example: Planner Sticker Pack Idea
Imagine creating a Spring Planner Sticker Sheet:
- Decorative watercolor flowers across the top.
- Functional boxes for to-do lists and notes.
- Motivational quotes like “Bloom Where You Are Planted.”
- Seasonal icons (umbrellas, rain boots, butterflies).
This single sheet appeals to both practical planners and aesthetic buyers, making it versatile and profitable.
From planners and seasonal holidays to branding and collectibles, stickers offer endless creative opportunities. The key is to match your designs to the needs of your target audience—whether they’re students, small business owners, or sticker collectors. With clip art bundles from TumblersGalaxy, you can easily create cohesive packs that delight customers and keep them coming back for more.
7. Common Mistakes to Avoid
Like any craft or small business venture, making printable stickers comes with a learning curve. The good news is most mistakes are easy to fix once you know what to watch out for. Here are the most common pitfalls sticker creators face—and how to avoid them.
1. Using Low-Resolution Images
The mistake: Many beginners grab images from Google or use designs at 72 DPI, which look fine on screen but print blurry and pixelated.
Why it’s a problem: Stickers are small, but they still require sharp, professional-quality artwork.
The fix:
- Always design at 300 DPI.
- A standard A4 sticker sheet at 300 DPI = 2,500 × 3,500 pixels.
- Use professional clip art (like TumblersGalaxy packs) instead of random web images.
👉 Rule of thumb: If it looks fuzzy on your screen, it will look worse when printed.
2. Choosing the Wrong Sticker Paper
The mistake: Using regular paper or the wrong type of sticker paper for your printer.
Why it’s a problem: Ink may smudge, colors may look dull, and stickers may peel off easily.
The fix:
- Inkjet Printers: Use inkjet-compatible sticker paper.
- Laser Printers: Use laser-specific paper to prevent melting.
- For durability: choose vinyl or laminated paper for waterproof stickers.
3. Poor Cutting & Misaligned Designs
The mistake: Printing beautiful designs only to cut them unevenly or misaligned.
Why it’s a problem: Crooked cuts make stickers look unprofessional and frustrate customers.
The fix:
- Use a Cricut or Silhouette machine for precision.
- Add registration marks so cutting machines know where to cut.
- Leave 2–3mm white borders around designs to hide minor errors.
4. Forgetting Bleed & Margins
The mistake: Designs go right to the edge of the canvas, leaving thin white lines after cutting.
The fix:
- Always add a bleed area (1/8″ or 3mm) around your designs.
- Ensure backgrounds extend beyond cut lines.
👉 Pro printers will reject files without bleed, so learning this early saves headaches.
5. Ignoring Licensing Rules
The mistake: Selling stickers using copyrighted images (Disney, anime, popular brands) or personal-use clip art.
Why it’s a problem: Shops can be taken down on Etsy/Redbubble, and you could face copyright issues.
The fix:
- Only use designs with a commercial license.
- Always check the Refund & Licensing Policy before selling.
- Stick to original art or properly licensed clip art packs.
6. Skipping Test Prints
The mistake: Printing and cutting 20 sheets before testing alignment and color accuracy.
The fix:
- Always print one test sheet first.
- Adjust printer settings for brightness, saturation, or alignment.
- Test on cheaper paper before moving to vinyl or holographic stock.

7. Overcomplicating Designs
The mistake: Adding too many details, gradients, or thin lines that don’t translate well to small stickers.
The fix:
- Stick to bold, simple shapes and colors.
- Avoid thin text (choose thicker fonts).
- Preview your design at 50% size to simulate how it will look when printed small.
8. Not Waterproofing When Needed
The mistake: Selling laptop or water bottle stickers without protecting the print.
Why it’s a problem: Ink smears, stickers peel, and customers complain.
The fix:
- Use vinyl paper or add a laminate film.
- For outdoor use, consider UV-resistant laminates.
Mini Case Story: Emma’s First Sticker Launch
Emma, a beginner seller on Etsy, rushed into launching her first sticker shop. She used cheap paper, printed at low resolution, and cut by hand. The result? Stickers that smudged, peeled, and looked fuzzy. After several refunds and negative reviews, she nearly gave up.
But instead of quitting, Emma invested in proper vinyl paper, set her files to 300 DPI, and bought a Cricut machine. Within two months, her new stickers looked professional—and her reviews went from 2 stars to 5. Today, she makes £500/month from her Etsy shop.
Her story shows that mistakes aren’t failures—they’re stepping stones to success if you learn from them.
Most sticker-making mistakes come down to resolution, materials, cutting, and licensing. By investing in the right paper, using professional-quality artwork, and testing before scaling, you can avoid wasted time and unhappy customers. And if you do slip up? Remember Emma’s story: mistakes are part of the learning curve.
8. Turning Stickers into a Business
For many creators, printable stickers start out as a fun hobby—making journaling sheets, decorating laptops, or personalizing gifts. But with the surge of demand on platforms like Etsy and Shopify, stickers have become one of the most accessible ways to start a creative business. The startup costs are low, profit margins are high, and the product is lightweight and easy to ship. Whether you want to earn some side income or build a full-time brand, sticker-making can be a profitable path.
Why Stickers Are a Perfect Business Product
- Low Cost of Materials: A single sheet costs less than £1 to produce, yet can sell for £3–£6.
- High Profit Margins: Profit margins often range from 50%–80%.
- Lightweight & Easy to Ship: Stickers fit in envelopes, keeping shipping costs minimal.
- Repeat Purchases: Customers come back for seasonal packs, new themes, or collectible sets.
- Scalable: Start with home printing, then move to Cricut cutting or print-on-demand services.
Where to Sell Your Stickers
The platform you choose depends on your goals, but here are the most common options:
- Etsy: The go-to marketplace for stickers. Customers are already searching for “planner stickers,” “thank-you stickers,” and seasonal packs.
- Shopify: Great for building your own branded store and growing into a full business.
- Redbubble / Printify / Zazzle: Print-on-demand platforms where you upload designs, and they handle printing, shipping, and customer service.
- Local Craft Fairs & Markets: Perfect for getting feedback and building a local customer base.
- Social Media Shops (Instagram/Facebook): Direct selling to your followers.
👉 Most sellers start on Etsy, test designs, then expand to Shopify or POD once they see what sells.
Pricing Strategies
Pricing stickers can be tricky—too low, and you undervalue your work; too high, and you scare away buyers.
Typical Cost Breakdown (per sheet):
- Paper & ink: £0.50–£1
- Packaging & envelope: £0.25–£0.50
- Etsy/Shopify fees: ~10%
Average Selling Price: £3–£6 per sheet
Tips for Pricing:
- Bundles Sell Better: Offer 3 sheets for £10 or seasonal collections.
- Custom Stickers = Higher Prices: Charge more for personalized names, photos, or branding.
- Factor in Time: Cutting, packaging, and shipping should be built into your price.
Marketing Your Sticker Business
Even the best designs won’t sell if no one sees them. That’s where marketing comes in.

- Instagram & TikTok: Post short videos of your stickers being peeled, applied, or added to planners.
- Pinterest: Great for showcasing themed packs—planner and journaling buyers love Pinterest inspiration.
- Email Marketing: Offer freebies or discounts in exchange for newsletter signups.
- SEO Keywords: Use specific long-tail keywords like “watercolor floral planner stickers” instead of just “stickers.”
👉 Consistency is key—posting 3–4 times a week builds momentum and visibility.
Niche Shops = More Success
Instead of selling every type of sticker, many successful sellers focus on a niche.
- Planner stickers for teachers.
- Kawaii stickers for teens.
- Pet-themed stickers for dog and cat lovers.
- Branding stickers for handmade shops.
By narrowing your focus, you attract loyal repeat buyers who want everything you release.
Mini Case Story: Ella’s Planner Sticker Shop
Ella, a university student, started designing planner stickers in Canva using floral clip art. She launched on Etsy with just 10 designs.
- First month: 20 sales (~£80 revenue).
- Month three: Over 150 sales with themed monthly packs.
- Month six: £2,000/month in sales, mainly from repeat buyers who subscribed to her seasonal bundles.
Ella’s success came from choosing a niche (planner stickers), sticking to it, and marketing consistently on TikTok and Instagram.
Turning stickers into a business is one of the most beginner-friendly ways to monetize creativity. With low startup costs, high margins, and endless design possibilities, stickers can transform from a fun side project into a serious income stream. The key is to focus on a niche, price strategically, and market consistently.
9. Tools for Scaling Up
Once you’ve mastered the basics of sticker-making and started making consistent sales, the next step is to scale up. Scaling means producing more, working more efficiently, and ultimately increasing your profits without burning out. To do this, you’ll need the right tools, systems, and strategies.
Buying Sticker Paper & Supplies in Bulk
At first, it makes sense to buy sticker paper in small packs from Amazon or craft stores. But as orders increase, buying in bulk saves money.
Benefits of bulk buying:
- Lower cost per sheet (e.g., £0.80 retail vs. £0.40 wholesale).
- Consistent quality across batches.
- Reduced risk of running out during busy seasons.
Where to source:
- Online suppliers specializing in vinyl and printable papers.
- Wholesale craft distributors.
- Local print supply shops.
👉 Pro Tip: Always test a small batch from a supplier before committing to bulk orders.
Cutting Machine Upgrades
If you’ve been using scissors or a single Cricut, scaling may require upgrading:
- Cricut Maker 3: Faster cutting, handles vinyl rolls, and automates repetitive tasks.
- Silhouette Cameo 4: Great for businesses—supports wider materials and precise cuts.
- Multiple Machines: Some Etsy shops run 2–3 machines simultaneously to keep up with demand.
👉 If you plan to process 50+ orders a week, a second machine quickly pays for itself.
Mockup & Automation Tools
As your product catalog grows, creating mockups for every design can eat up time. Mockup tools streamline the process.
- Placeit.net: Lifestyle mockups for Etsy/Shopify listings.
- Canva Pro: Quick, easy mockup templates.
- Photoshop Smart Objects: Advanced customization.
Automation Tools:
- Airtable / Notion: Track orders, designs, and inventory.
- Shipping Solutions (ShipStation, Pirate Ship, Royal Mail integrations): Automate labels and postage.
- Social Media Scheduling (Later, Planoly, Buffer): Post consistently without spending all day online.
Expanding Product Lines
Scaling doesn’t just mean selling more stickers—it means offering more variety to boost your average order value (AOV).
- Stickers + Washi Tape Bundles: Perfect for journaling fans.
- Seasonal Collections: Release a Valentine’s, Summer, and Christmas pack every year.
- Matching Product Lines: Pair stickers with tote bags, mugs, or T-shirts featuring the same clip art.
👉 Bundles and cross-product designs encourage larger orders and loyal customers.
When to Outsource Production
At some point, handling all printing and cutting yourself may become overwhelming. That’s when outsourcing comes in.
- Local Print Shops: Handle bulk vinyl and waterproof stickers.
- Print-on-Demand (POD) Services: Companies like Printify, Redbubble, or Sticker Mule take over printing, cutting, and shipping.
- Hybrid Approach: Keep custom/personalized stickers in-house while outsourcing standard designs.
Pros of outsourcing:
- Saves time.
- Lets you focus on design and marketing.
- No need to store bulk inventory.
Cons:
- Lower profit margins.
- Less control over quality and delivery times.
When to Upgrade Printers & Laminators
A home inkjet printer might be fine for the first 100 orders, but scaling requires professional hardware.
- Wide-format Printers: Print larger sheets at once, reducing per-sheet costs.
- High-volume Inkjet/Laser Printers: Designed for bulk sticker printing with lower ink costs.
- Automatic Laminators: Save time by protecting multiple sheets at once.
If you’re producing hundreds of stickers monthly, investing in pro-grade equipment improves efficiency and ensures consistent quality.

Scaling a sticker business is all about efficiency. By buying supplies in bulk, upgrading cutting machines, automating marketing and shipping, and outsourcing strategically, you can increase profits without working longer hours. Expanding product lines and bundling also boost your average sale, helping you grow faster.
10. FAQs: Everything You Need to Know About Printable Custom Stickers
When you’re starting out with printable stickers, it’s natural to have lots of questions. From paper types to printer settings, waterproofing, and licensing rules, beginners often hit the same roadblocks. To save you time (and frustration), here are the most frequently asked questions about sticker-making—answered clearly and simply.

Q1: What type of printer is best for stickers?
Both inkjet and laser printers can work, but each has strengths:
- Inkjet: Produces vibrant colors, better for detailed clip art and illustrations.
- Laser: Sharper text and waterproof toner, better for logos and labels.
👉 If you’re just starting, a high-quality inkjet is a great first step.
Q2: What sticker paper should I use?
It depends on your goals:
- Matte paper: Writable surface, great for planner stickers.
- Glossy paper: Shiny finish, vibrant designs.
- Clear paper: Transparent, perfect for minimalist designs.
- Vinyl paper: Durable and waterproof—best for laptops, water bottles, or outdoor use.
👉 Always make sure the paper is compatible with your printer type (inkjet vs. laser).
Q3: Are home-printed stickers waterproof?
Not usually. Inkjet stickers printed on standard paper are not waterproof. To make them durable:
- Use vinyl sticker paper.
- Add a laminate sheet or use a laminator.
- Apply a clear spray sealant for UV and water resistance.
Q4: Do I need a Cricut or Silhouette to make stickers?
Not necessarily. You can cut stickers by hand with scissors or a craft knife, especially for simple shapes. But if you want professional, precise cuts (die-cut or kiss-cut), a Cricut or Silhouette machine is the best investment.
Q5: Can I sell stickers made with free clip art?
Usually no. Most free clip art is licensed for personal use only. Selling products with it can get your shop taken down or even lead to copyright issues.
👉 Always use artwork with a commercial license. At TumblersGalaxy, our clip art bundles come with clear commercial-use rights. Check the Refund & Licensing Policy before selling.
Q6: What resolution should I design my stickers at?
Always design at 300 DPI (dots per inch). This ensures sharp, professional prints.
- A standard A4 sheet = 2,500 × 3,500 pixels at 300 DPI.
- Avoid resizing small images up, as they’ll look pixelated.
Q7: How much does it cost to start a sticker business?
It depends on your setup:
- Beginner setup: £50–£150 (home printer, basic paper, scissors).
- Intermediate setup: £300–£700 (inkjet printer, Cricut machine, vinyl paper).
- Advanced setup: £1,000+ (wide-format printers, multiple cutters, bulk supplies).
Many Etsy sellers start with less than £200 and recover their investment in a few months.
Q8: What’s the best way to package stickers?
- Cellophane sleeves: Protect from dust and scratches.
- Backing cards: Add branding and support.
- Rigid envelopes: Prevent bending during shipping.
Adding a small thank-you note or freebie sticker is a great way to encourage repeat buyers.
Q9: How do I price my stickers?
Consider materials, time, and platform fees:
- Cost to produce a sheet: ~£0.75–£1.50.
- Average selling price: £3–£6 per sheet.
- Bundles: 3 sheets for £10–£12.
👉 Always price for profit + time. Don’t undervalue your work!
Q10: Do stickers really sell well online?
Yes! Stickers are one of Etsy’s most saturated but profitable categories. The key is:
- Finding a niche (planner, pets, branding, kawaii, seasonal).
- Offering bundles or collections.
- Marketing consistently on TikTok, Instagram, and Pinterest.
👉 With the right designs, even beginners can build a steady income stream.

Most sticker questions come down to materials, methods, and licensing. By using the right paper, designing at 300 DPI, investing in cutting machines when needed, and sticking to properly licensed clip art, you’ll be ahead of most beginners. Stickers aren’t just fun to make—they’re one of the easiest personalized products to turn into a profitable small business.
Bonus Case Study: How Sophie Turned Stickers Into a £1,500/Month Business
Sophie, a 26-year-old student from Brighton, never planned to start a business. She loved journaling and decorating her planners with colorful stickers, but found herself frustrated by the limited (and expensive) options in local shops. One day in 2022, she decided to design her own sheets using digital clip art. That small experiment soon became the foundation of a thriving Etsy shop that now earns her around £1,500 per month.
The Spark of an Idea
It all started when Sophie downloaded a floral clip art bundle to create printable headers for her bullet journal. After showing her decorated planner on Instagram, friends began asking where they could buy her stickers. She realized there was demand—not just for her personal designs, but for accessible, themed sticker packs.
Starting Small with Affordable Tools
Sophie didn’t have expensive equipment at the beginning. Her setup was:
- A home inkjet printer.
- Basic matte sticker paper from Amazon.
- Scissors for cutting.
She uploaded her first five sticker sheets to Etsy in categories like “Floral Planner Stickers” and “Study Tracker Icons.” Her first sale came just two days after listing.

Finding Her Niche
Instead of trying to compete with every sticker seller, Sophie focused on planner stickers for students and young professionals. Her shop offered:
- Weekly planner stickers with motivational quotes.
- Study and exam trackers.
- Seasonal decorative packs for journaling.
By keeping her theme consistent, she built a loyal audience who returned month after month for her new releases.
Scaling Up with Better Tools
As sales grew, Sophie reinvested her profits into better equipment:
- Cricut Explore 3: for precise kiss-cut sheets.
- Glossy vinyl paper: for vibrant colors and durability.
- Cold laminate film: to create waterproof stickers.
This upgrade immediately improved her product quality, helping her charge higher prices and appeal to customers who wanted long-lasting stickers for laptops and water bottles.
Marketing That Worked
Sophie’s marketing strategy was simple but consistent:
- Instagram Reels: showing planner spreads using her stickers.
- TikTok: quick, satisfying “peel and stick” videos that went viral.
- Pinterest: pinning mockups of her seasonal packs.
One TikTok video—where she showed a before/after of her blank planner vs. decorated with stickers—reached 100,000 views, tripling her shop traffic in a week.
The Numbers
- First month: 15 sales, ~£60 revenue.
- Month three: 120 sales, ~£500 revenue.
- Month six: Consistently £1,500/month with 400+ sales.
Her bestsellers? A “Back to School Planner Pack” in August and a “Christmas Sticker Bundle” in November.
Lessons from Sophie’s Journey
- Start Small: You don’t need expensive gear to begin—test with what you have.
- Find a Niche: Planner stickers gave Sophie a clear focus and repeat customers.
- Reinvest Profits: Upgrading tools improved quality and efficiency.
- Consistency Wins: Posting on TikTok and Instagram regularly grew her audience.
- Seasonal Sales Boost: Launching holiday packs created spikes in demand.
Sophie’s story proves you don’t need a huge budget or years of experience to turn stickers into a profitable business. By starting small, finding a niche, and marketing consistently, she grew from hobbyist to entrepreneur in just six months.
From Hobby to Thriving Sticker Business

Stickers may be small, but as we’ve seen, their potential is massive. What starts as a creative side project—printing a few sheets for planners or decorating laptops—can quickly grow into a profitable online business. In 2025, printable stickers stand at the crossroads of art, functionality, and entrepreneurship, making them one of the most exciting opportunities for crafters and small business owners alike.
The Journey We’ve Taken
In this guide, we’ve covered everything you need to know to succeed with custom stickers:
- Why Stickers Are Popular – A mix of fun, expression, affordability, and branding potential.
- Tools & Materials – From beginner setups with a home printer to professional equipment with Cricut machines and laminators.
- Choosing Digital Designs – File formats, DPI, and the importance of commercial licensing.
- Step-by-Step Design Process – Setting up canvases, adding borders, arranging sheets, and exporting files.
- Printing Methods – From home inkjet to print-on-demand services.
- Creative Sticker Ideas – Journaling, branding, seasonal, niche hobbies, and aesthetic packs.
- Common Mistakes – Low resolution, poor paper choice, ignoring bleed, or skipping licensing.
- Turning Stickers Into a Business – Selling on Etsy/Shopify, pricing strategies, and niche marketing.
- Scaling Up – Bulk supplies, machine upgrades, automation, outsourcing, and expanding product lines.
- FAQs – Practical answers about waterproofing, Cricut, packaging, and costs.
- Case Study: Sophie’s Success – Proof that starting small can lead to £1,500/month in just six months.
Together, these sections give you a complete roadmap—from your very first design to scaling your own sticker shop.
Why Stickers Are Here to Stay
Stickers aren’t just a passing trend. They fit into larger cultural movements:
- The rise of personalization in fashion and tech.
- The popularity of eco-friendly packaging for small businesses.
- The growth of Etsy and print-on-demand markets.
- The demand for affordable self-expression in an age of digital lifestyles.
As long as people want to decorate, personalize, and brand their lives, stickers will remain in demand.
Your Next Steps
If you’re ready to dive in, here’s a simple action plan:
- Start with a small setup – Use a home printer and basic sticker paper to test your designs.
- Choose a niche – Planner stickers, pet-themed packs, business branding, or seasonal designs.
- List your products – Launch on Etsy, share on Instagram, and join relevant communities.
- Reinvest as you grow – Upgrade to a Cricut or Silhouette, buy supplies in bulk, and explore POD services.
- Stay consistent – Release seasonal collections, market regularly, and listen to customer feedback.
Remember, success isn’t about perfection—it’s about progress. Every test print, every sale, and every new design gets you closer to building a business you love.

Final Inspiration
Like Sophie’s story shows, anyone can turn a love for stickers into real income. With creativity, consistency, and the right tools, you can design products that brighten lives, help people organize, and even strengthen small businesses through branding.
So the question is—what will your first sticker sheet be? A planner pack? A seasonal collection? Or maybe a set of branding labels for small businesses? Whatever you choose, now is the perfect time to start.
👉 Ready to create your first professional sticker designs? Explore our Watercolor Clip Art Collections and unlock hundreds of commercial-use graphics you can transform into high-quality sticker packs today.
TumblersGalaxy
We’re passionate about bringing creativity to life through unique clip art and digital designs. Our mission is simple: to provide artists, crafters, small business owners, and hobbyists with high-quality artwork that inspires imagination.
Blog categories
Featured


-
Transform Your Art with Trendy Tumbler Wraps
This paragraph serves as an introduction to your blog post. Begin by discussing the primary theme or topic that you plan to cover, ensuring it captures the reader’s interest from the very first sentence. Share a brief overview that highlights why this topic is important and how it…
-

Free vs Premium: Which Clip Art to Choose?
This paragraph serves as an introduction to your blog post. Begin by discussing the primary theme or topic that you plan to cover, ensuring it captures the reader’s interest from the very first sentence. Share a brief overview that highlights why this topic is important and how it…
-
Top 5 Premium Designs Worth Every Penny
This paragraph serves as an introduction to your blog post. Begin by discussing the primary theme or topic that you plan to cover, ensuring it captures the reader’s interest from the very first sentence. Share a brief overview that highlights why this topic is important and how it…
-
The Power of Inspirational Content in Creativity
This paragraph serves as an introduction to your blog post. Begin by discussing the primary theme or topic that you plan to cover, ensuring it captures the reader’s interest from the very first sentence. Share a brief overview that highlights why this topic is important and how it…
-
How to Choose Aesthetic Backgrounds for Your Designs
This paragraph serves as an introduction to your blog post. Begin by discussing the primary theme or topic that you plan to cover, ensuring it captures the reader’s interest from the very first sentence. Share a brief overview that highlights why this topic is important and how it…
-
Seasonal Clip Art Ideas for Stunning Projects
This paragraph serves as an introduction to your blog post. Begin by discussing the primary theme or topic that you plan to cover, ensuring it captures the reader’s interest from the very first sentence. Share a brief overview that highlights why this topic is important and how it…
Leave a Reply